
If you’re a sole trader or small business owner, chances are you’re using WordPress to manage your website, although other content management systems are available. If you’re unsure what WordPress is, look at our knowledge base article What is WordPress.
One of the great parts of WordPress is the post section. The WordPress post section is an area of your website where you can write a blog post about a topic. When you think about blogging, you might think of hobby sites, such as someone writing about their travel adventures, but in reality, a blog post could be about anything. I use posts to cover everything from news to articles in our knowledge centre like this one.
For your business, it could be a key way to provide useful fresh content for your customers, and it also helps your website to be found on search engines. Also known as content marketing blogging is one way to help people find you online take a look at other types of content marketing in our content marketing article.
And if you’re using WordPress, then you know that one of the most important aspects of running a successful website is keeping your content fresh and up-to-date.
Log into your WordPress Dashboard
Your WordPress dashboard is the control panel of your website, you have lots of functionality to update your website’s various settings and pages. You usually access your WordPress dashboard by going to your domain/wp-admin. For example, it could be www.wesellbigboots.co.uk/wp-admin. From there, you’ll be able to log in to your dashboard.
Your WordPress dashboard controls all of your website you be careful editing any settings that are they as it will impact the way your site works – I wrote a knowledge base article that goes over it in a bit more detail that you can find here. I’ll not be covering it in detail in this post, so if you’re new to WordPress, it’s worth a read.
How to create a new post
Creating a new post is simple. All you need to do is head over to the posts screen and click add new. You can find the screen by clicking on the post section on the lefthand menu bar.

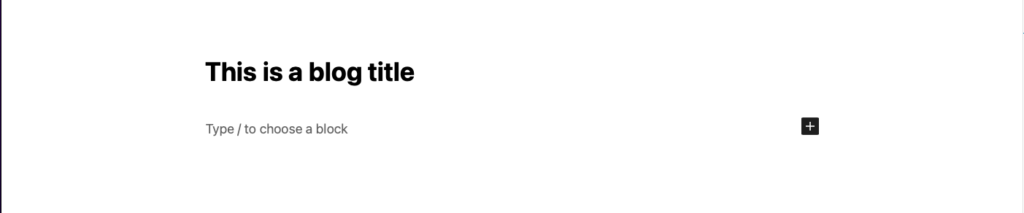
Once you’ve clicked new, you’ll be in the post editor. The editor is where you’ll spend the time writing the content that you want to publish as a blog post.
Post status
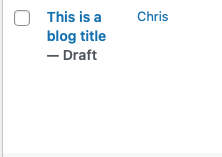
WordPress posts have two statuses, published and draft.
A draft post is content that you are working on that is not shown on your live website, only you as the editor, can see it.
Published posts are posts that are visible on your live website. You can unpublish posts at any time to hide them from your live website.
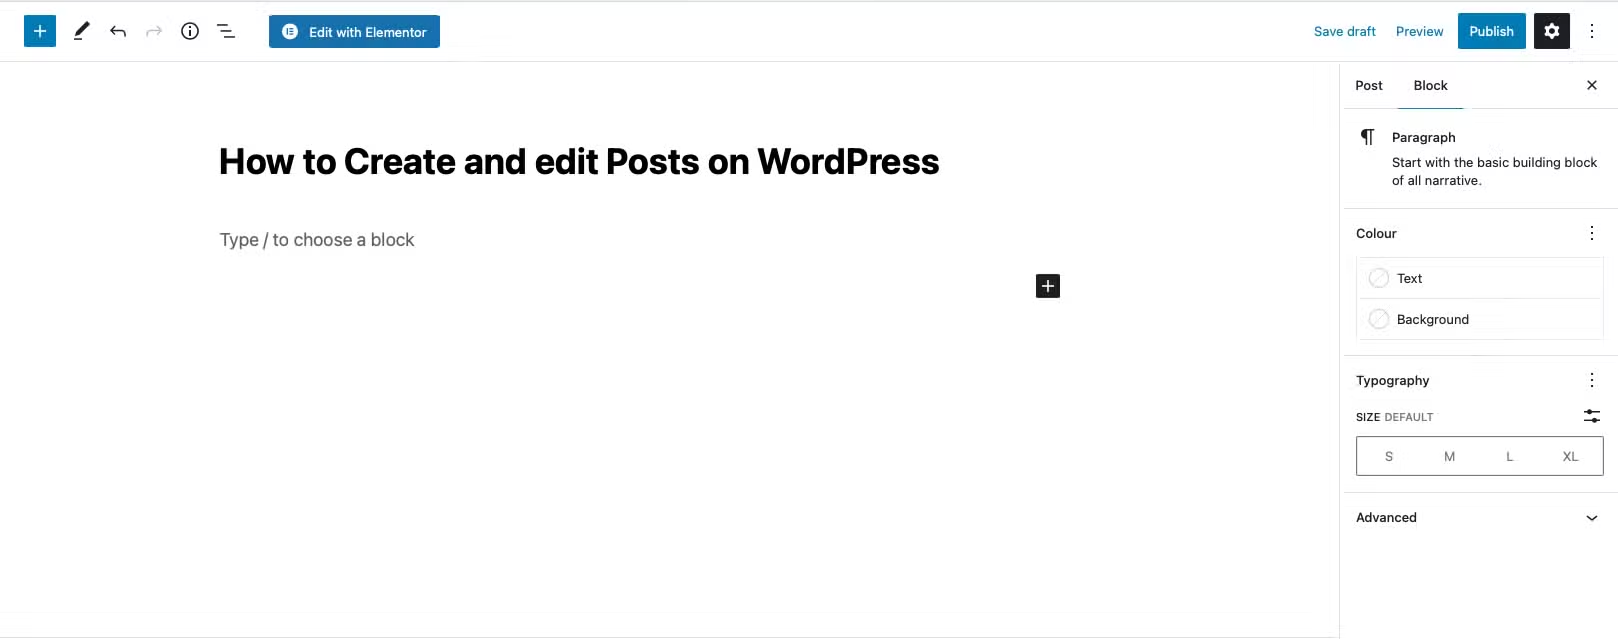
WordPress Post Editor
The post editor is like a building block to build your post content. The post title is always at the top in bold, and you’ll need to type in your title. After that, you’ll add different blocks using the block editor depending on the types of media you want to use, for example, text and images.
Articles can take a long time to write. So if you can’t do a whole article in one sitting, don’t worry, as your WordPress site will automatically save draft posts so you can return later. You can also manually save your draft by clicking the save draft button.

Block Editor
You can choose blocks by clicking on the little black plus to drop your media type. If you want to type standard body text, you can click straight into the block and start typing. There’s a load of different block types, so experiment with what you need to achieve, but we’ll cover the main ones below.

Different types of text block
There are different types of text widgets you can use to structure your post.
- Headings – allow you to title sections of your posts. There are many heading tags, H1 down to H6, to enable people (and search engines) to understand the importance of a section of text. A post should only have only H1 (the title)
- Paragraph – This type of text is the main body of your article.
- List – A list allows you to bullet point text like this.
Image Blocks
There are two types of image blocks, just a plain image box and a gallery.
- Image block – allows you to place an image from your media library
- Gallery – Allows you to add several images in one place rather than all the images separately.
Post Settings
On the right side of the screen, you have a settings menu. This menu has two options block specific settings that change depending on the type of your block you’re working with at that time and overall post settings.
Post settings allow you to add overall settings to the post you’re working with.
Summary Block
The summary block shows top-level information, including how many revisions are stored and allows you to stick the post to the top of your blog.
Usually, WordPress displays posts in date order, allowing you to override that, so the sticky post is always shown first.

Categories and Tags
Categories and tags allow you to organise your content. You can add as many categories and tags as you need to your posts.

Featured image
The featured image is the primary image that usually shows at the top of your post. It’ll also show in search engine results.

Excerpt
This box allows you to add a small excerpt of your main article. One thing to remember here is that unless you define what you want it to say, google may choose something different from further down the text. It’s always good practice to pop one in.

Discussion
From the discussion block, you can decide if you want to allow comments on posts from the public or whether you want pingbacks and trackbacks. This allows you to notify people when you’ve linked one of their articles on your website or your website has been updated.
Once you’ve finished writing your new post, use the preview link to look at how it will look and make any changes you need to.

When you’re happy, all you need to do is press the publish button and boom! Your new post is visible on your website.
Edit posts in WordPress
From time to time, you may want to review the content on your posts to update them with new information or add new images. Like adding new posts, WordPress makes this easy too.
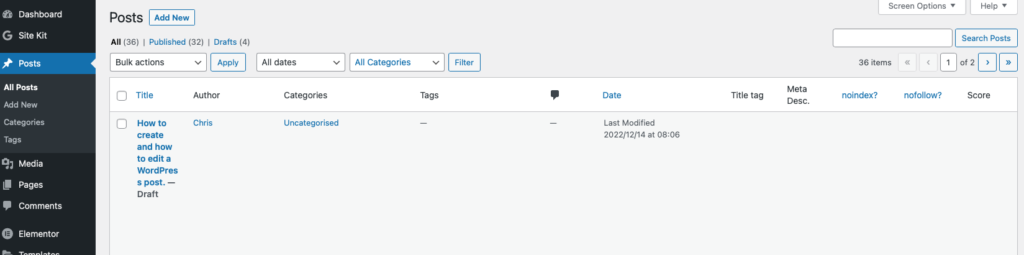
All posts have their section in the dashboard.
Go to the post that you want to edit
The posts page lets you look at all the posts on your website. Its default order is to put your latest posts first, although you can change the order by clicking on a heading. To edit a post, click the post title of the one you want to edit. You’ll then enter the block editor.

Make your changes to the post
To make changes to the sections or text, you must click on the text or the images you want to change. You can also use the right-hand menu to change things like the featured image.
As I mentioned earlier, posts in WordPress have two main statuses, published and draft. Whenever you’re updating a published post, WordPress creates a new draft, so you can take as long as you need to update your original post. You’ll see all the revisions in the summary block in the right-hand menu.

Click on the “update” button to save your changes
Once you’re happy with your edited content, you’ll need to click update. Your existing post on your live site will then automatically update with the new content.

Updating and Customising Post Settings
You may have noticed when hovering over your post’s title some additional links appear. One of these is quick edit.
This option is helpful if you’re not editing content of a post. This section allows you to change the Post title, categories or tags and slug without actually going into the post.

Be careful when editing the slug of a post though, as that will alter the web address of your post. This will impact other areas, such as SEO, so we’d not recommend doing it unless you know how to apply a redirect.
Hopefully, that covers all you need to create new and edit existing posts in WordPress. It’s also helpful to know that your look and feel will depend on your site’s theme or how it was designed, so it’s always worth remembering to look at the preview before hitting the publish button.
If you have any questions, we’d be happy to help.


